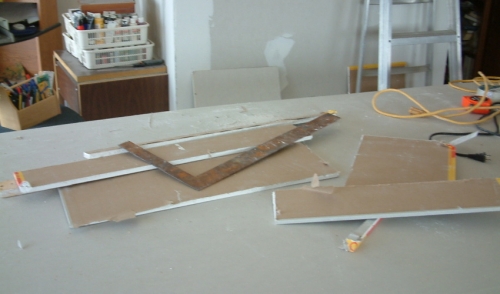
Best Practices In Hanging Sheetrock
In general, the process of hanging or installing sheetrock is pretty simple. The purpose of sheet rock is to cover metal or wood studs with sheets of gypsum panel or drywall so that your space has the desired structure and shape. The successful hanging of sheetrock hinges on correctly laying out the drywall on the studs and anchoring the panels to the framing members. While it can look easy, hanging sheetrock does come with its own challenges. This article will describe some best practices to avoid or bypass these challenges when installing sheetrock.
Start by always inspecting the studs or joists to ensure they are aligned in a straight plane. This is important to make sure the framing for your installation is level and properly secure for the hanging of the sheet rock. If you find that the framing is not level or if one of the joists sticks outs, trim it back without damaging the frame itself and fill in any low spots. Following any stud adjustments, lay and cut your sheetrock. When laying the sheetrock, its best to practice bonding the edges of one sheet with the edges of another and the butts with butts. By pairing the edges of the sheetrock accordingly, taping and feathering will be much easier leaving the gypsum unexposed. Furthermore, while laying out the drywall, hang the sheets perpendicular to the studs and stagger the butt joints. The reason for doing this is sheets that are hung perpendicular to the studs will carry more holding power across the entire wall. If not done this way, you risk having less holding power which can lead to the seams popping or cracking in the sheetrock. Being one of the weaker areas of the sheetrock, staggering the butt joints is a must-practice to limit cracking. Through staggering your butt joints, you will improve the holding power and strength of the wall even further and make taping and finishing the installation easier. During installation, make sure to always work ceiling down. This practice will make finishing and taping easier by making the connection between the ceiling sheets and wall sheets flusher along the edges. This will help make your joints tighter and easier to tape and finish. If this is your first go, grab a partner before attempting to hang any sheetrock along your ceiling. When fastening the sheetrock to the frame, use screws over nails. Screws work faster than nails and have a smaller chance of damaging the face of the drywall. Screws also offer more support than nails. Always pick the shortest screw that will still secure the wall to the frame as longer screws are more prone to pops. Try to follow the motto that less is more during the installation process. It may seem odd, but It’s doesn’t take a whole box of screws to hang sheetrock.
All of the practices described above are geared towards making taping and finishing easier for you. If screws are not secured properly, edges are mismatched, or seams are not staggered, finishing the job will cost you more money and headache. While finishing the walls, use the right taping compound and smooth out all the areas that need attention. Use the best practices from this article to make hanging sheetrock easier for you. These tips will save you time, money, and unwarranted effort while completing your next home project.
